How To Install a Batting Cage
The biggest challenge of owning a batting cage is installing the batting cage. Here, we'll attempt to give you an overview of the process for the different designs we offer. Understanding the assembly and installation needed for the various types will help you choose the batting cage that will best fit your wants and needs.
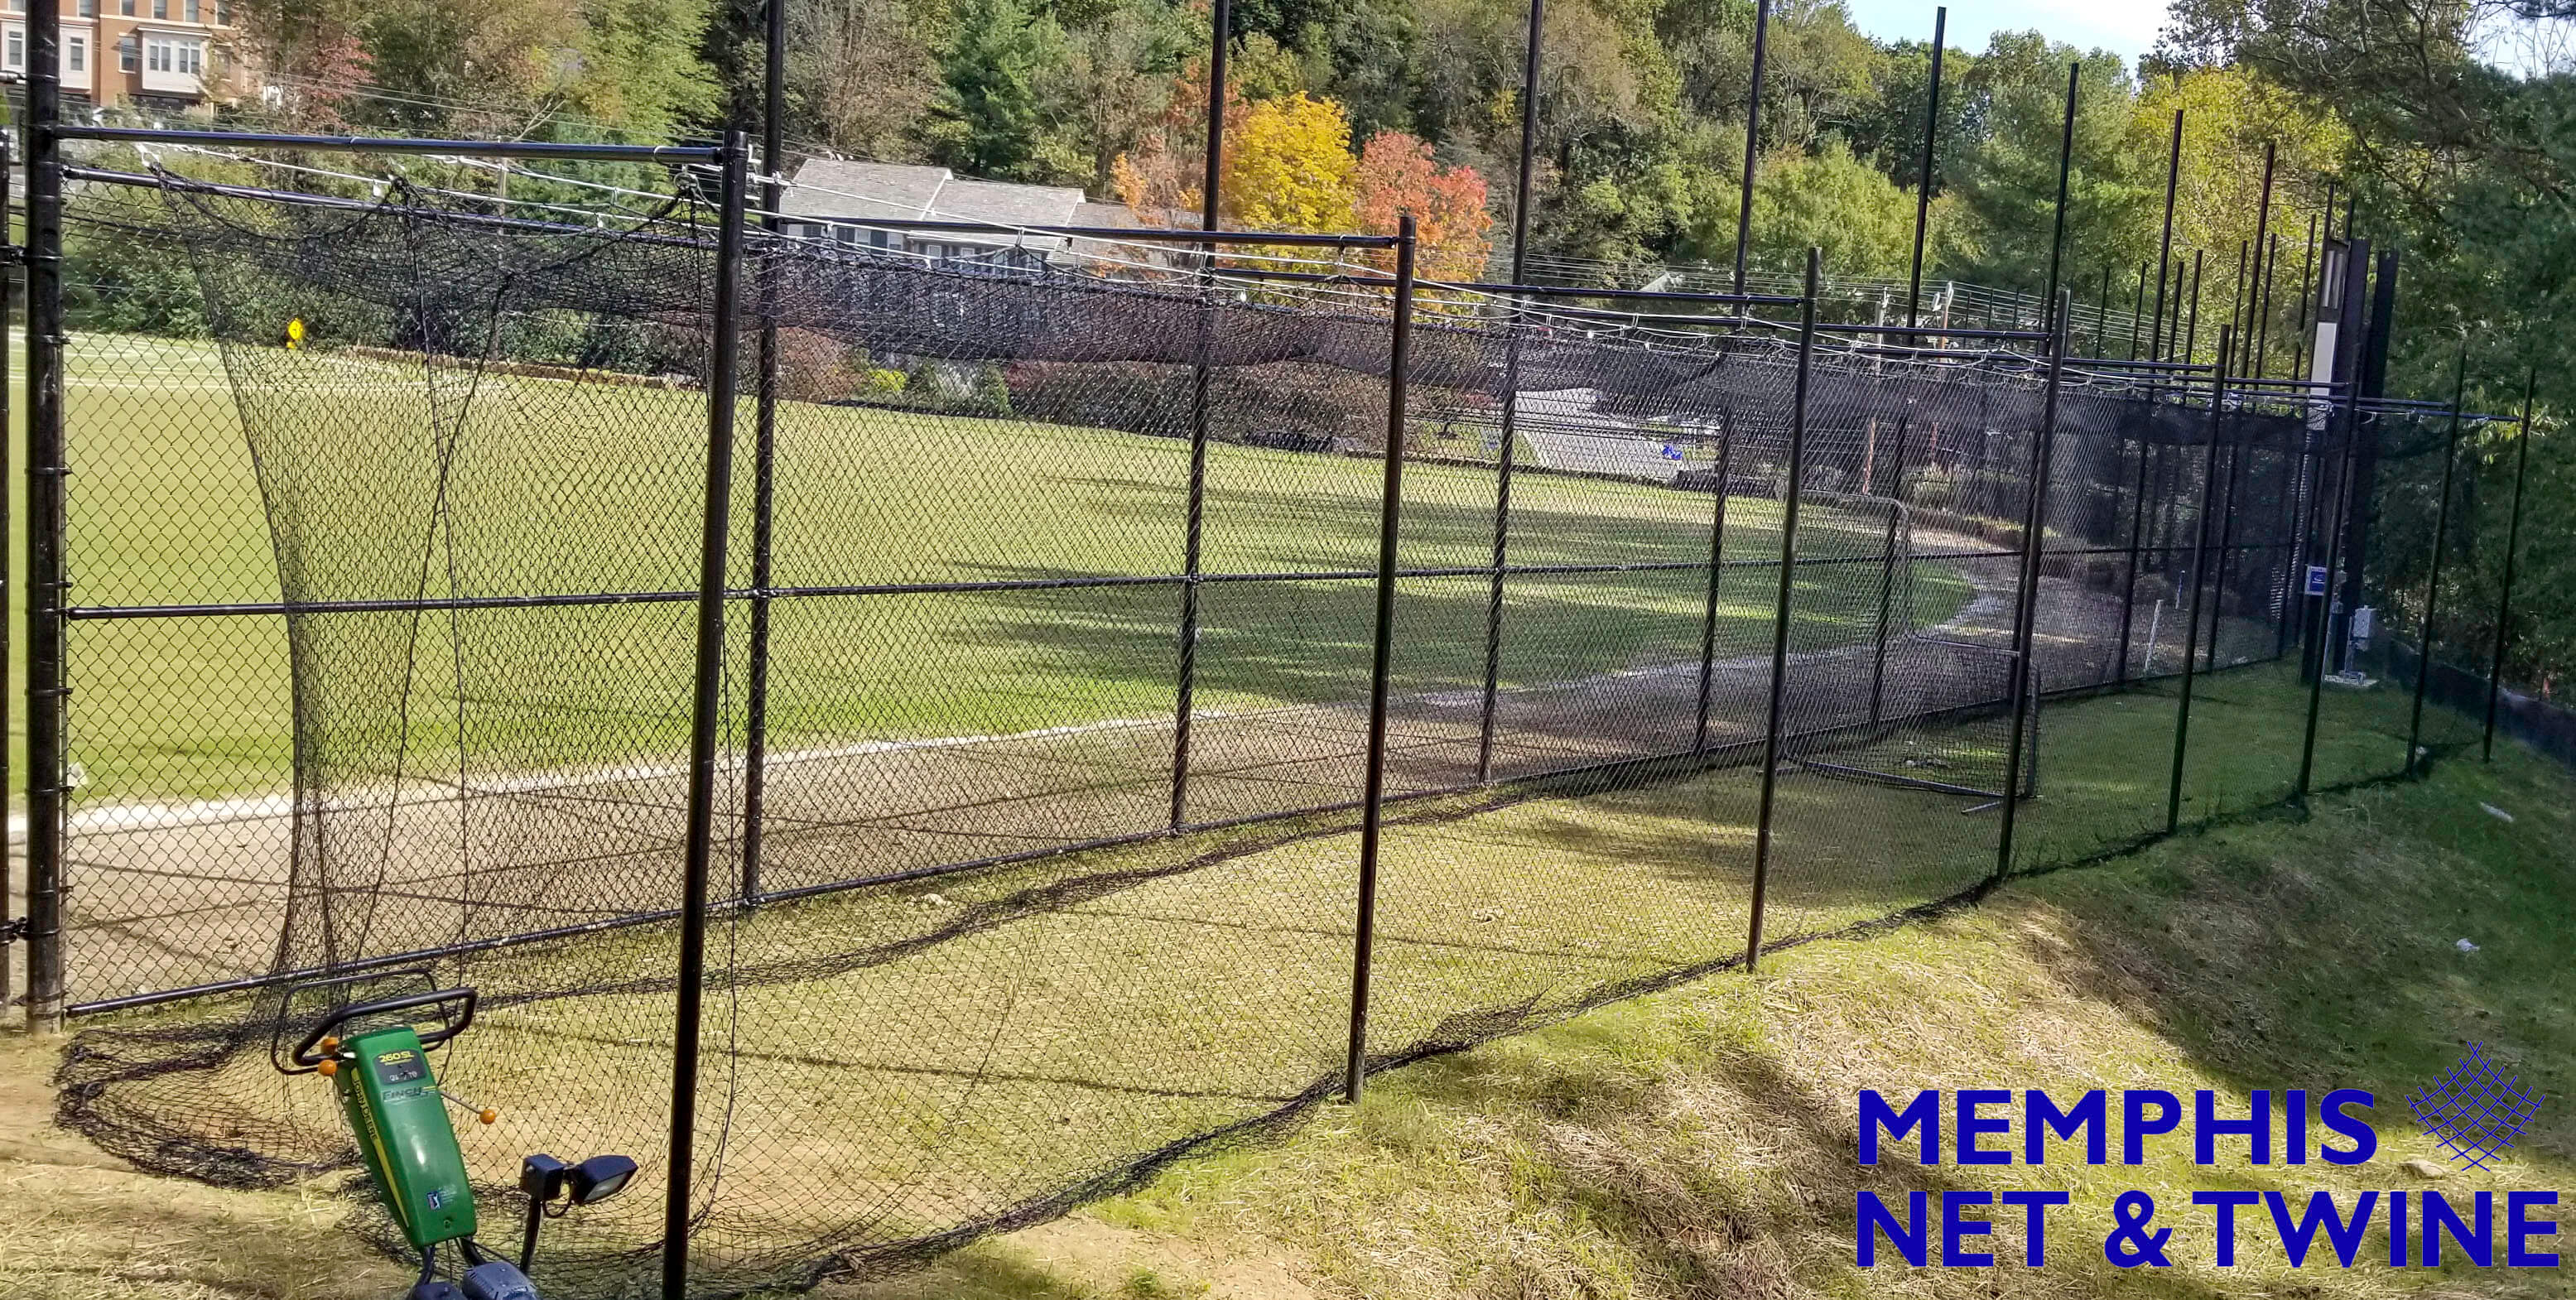
Starting with our outdoor standard Batting Cage Frame, as it takes little assembly but does require some extra work during installation. This frame consists of horseshoe sections of 1-5/8" steep pipe installed approximately every ten to fifteen feet to hold the netting. The hooks and clips for the netting are already installed so you only must anchor the horseshoe sections into the ground. We include two 2' PVC sleeves for each horseshoe section. These are meant to be cemented in the ground to create a solid foundation to insert the legs of the horseshoe. Each horseshoe section weighs approximately 110 pounds, so we recommend having several people to help with installation. The more accurate your measurement and placement of PVC sleeves in concrete, the easier this batting cage is to assemble.
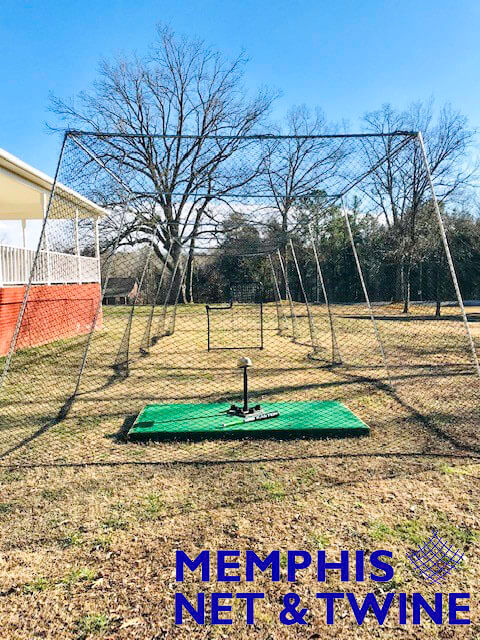
The Backyard Batting Cage is meant to provide a less permanent installation and allow for an easier assembly than our standard Batting Cage. You also save a substantial amount on shipping, because we only send the special fittings for the angles and corners of the frame. You can purchase the straight pieces of ¾" diameter steel conduit at a local hardware store. The amount needed is different for each length available, but ranges from 18 to 38 pieces. Each piece of conduit should be 10 feet long. Assembly of this frame is as simple as inserting the conduits into corner pieces we provide and tightening the attached bolts. The frame can be anchored to the ground as you see fit. Finish by clipping the net to the frame and your batting cage is complete. In most cases, installing a Backyard Batting Cage takes less than an hour from start to finish with two people.
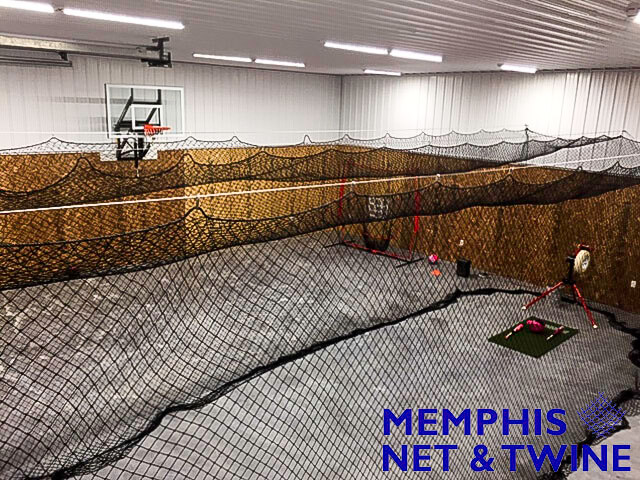
The Free Standing Indoor Batting Cage has a very similar setup to the standard outdoor batting cage, minus laying PVC sleeves in concrete. Instead, the horseshoe sections have feet with heavy duty rubber pads to stabilize the sections and protect the floor. Each section comes with enclosed instructions for that particular section. Once the horseshoe sections are assembled, you move them into place and clip the netting to them. We recommend having four people available for this installation because the section pieces are large and heavy. No specialized tools are required, though.
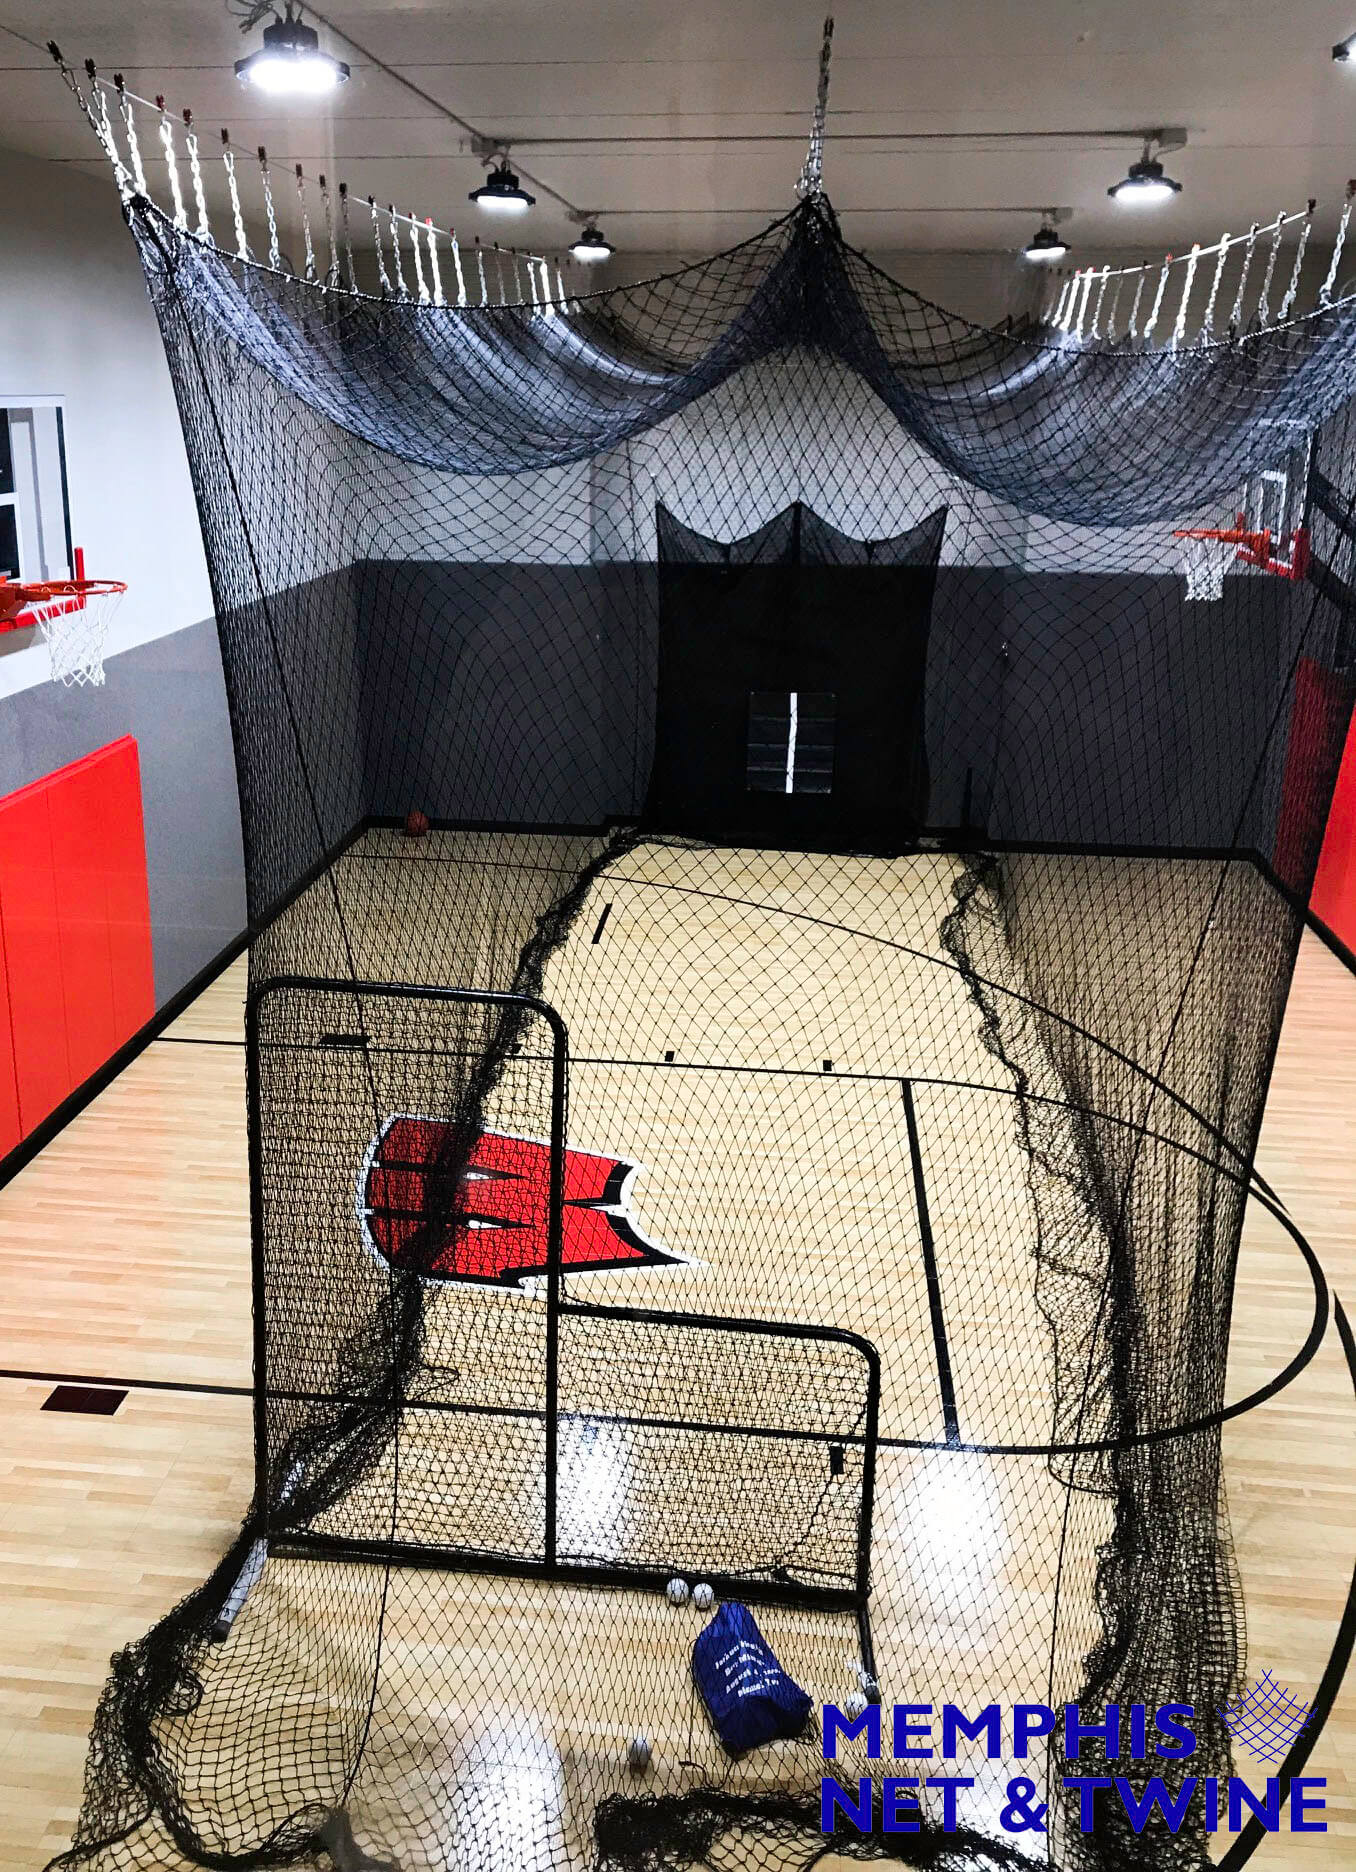
We have two frame-less options for hanging a batting cage net indoors. The main difference will be ceiling height and the ability to slide the net out of the way when not in use. Our Ceiling Kit is meant for gymnasiums or other areas with very high ceilings. We provide thirty 30' vertical cables to attach the netting to the ceiling, plus all associated hardware needed to connect it. Our Indoor Kit provides three 100' galvanized wire cables meant to be attached wall-to-wall. We include the hardware for mounting those cables and then for connecting the net to the cables. When this kit is installed, the net is free to slide all the way to one end of the other, getting it out of the way when needed.
Here's an additional note for installing any net on any frame for the purposes of creating a batting cage. You should purchase an additional 1 to 2 feet of extra net on each side for best results. If the net is tight when mounted to the frame, baseballs will bounce off it and possibly lead to damage or injury. Having a more slack net allows the energy of a struck baseball to be completely dissipated in the loose netting. It has the benefit of naturally collecting balls in the folds of netting on the ground, also. All in all, it is safer and more convenient to have a looser net.